How to Obtain Your Steam API Key: A Step-by-Step Guide
In this guide, I'll show you how to create a Steam API key for your Steam account and help you remove an account restriction that might be stopping you.
The Steam API key is a necessary component both for developers building applications utilizing the Steam API, but also increasingly for individuals using trading websites/services where their trade offers must be tracked. In this guide, I'll show you how to create a Steam API key for your Steam account and help you remove an account restriction that might be stopping you.
Prerequisites
Before creating a Steam API key, there are certain prerequisites that must be met:
- You must have a Steam account.
- Your account must not be limited (it must have spent $5.00 on games, see this support article).
- You should have read the Steam Web API Terms of Use to avoid breaches.
Obtaining your Steam API key
Firstly, navigate to https://steamcommunity.com/dev/apikey, which is Steam's official page for registering for an API key.
Step 1 - Unrestrict your account
If you are met with the following text when you navigate to the Steam API registration page linked above, your first step will be to remove the restriction on the account. If your account is not restricted, move along to Step 2.
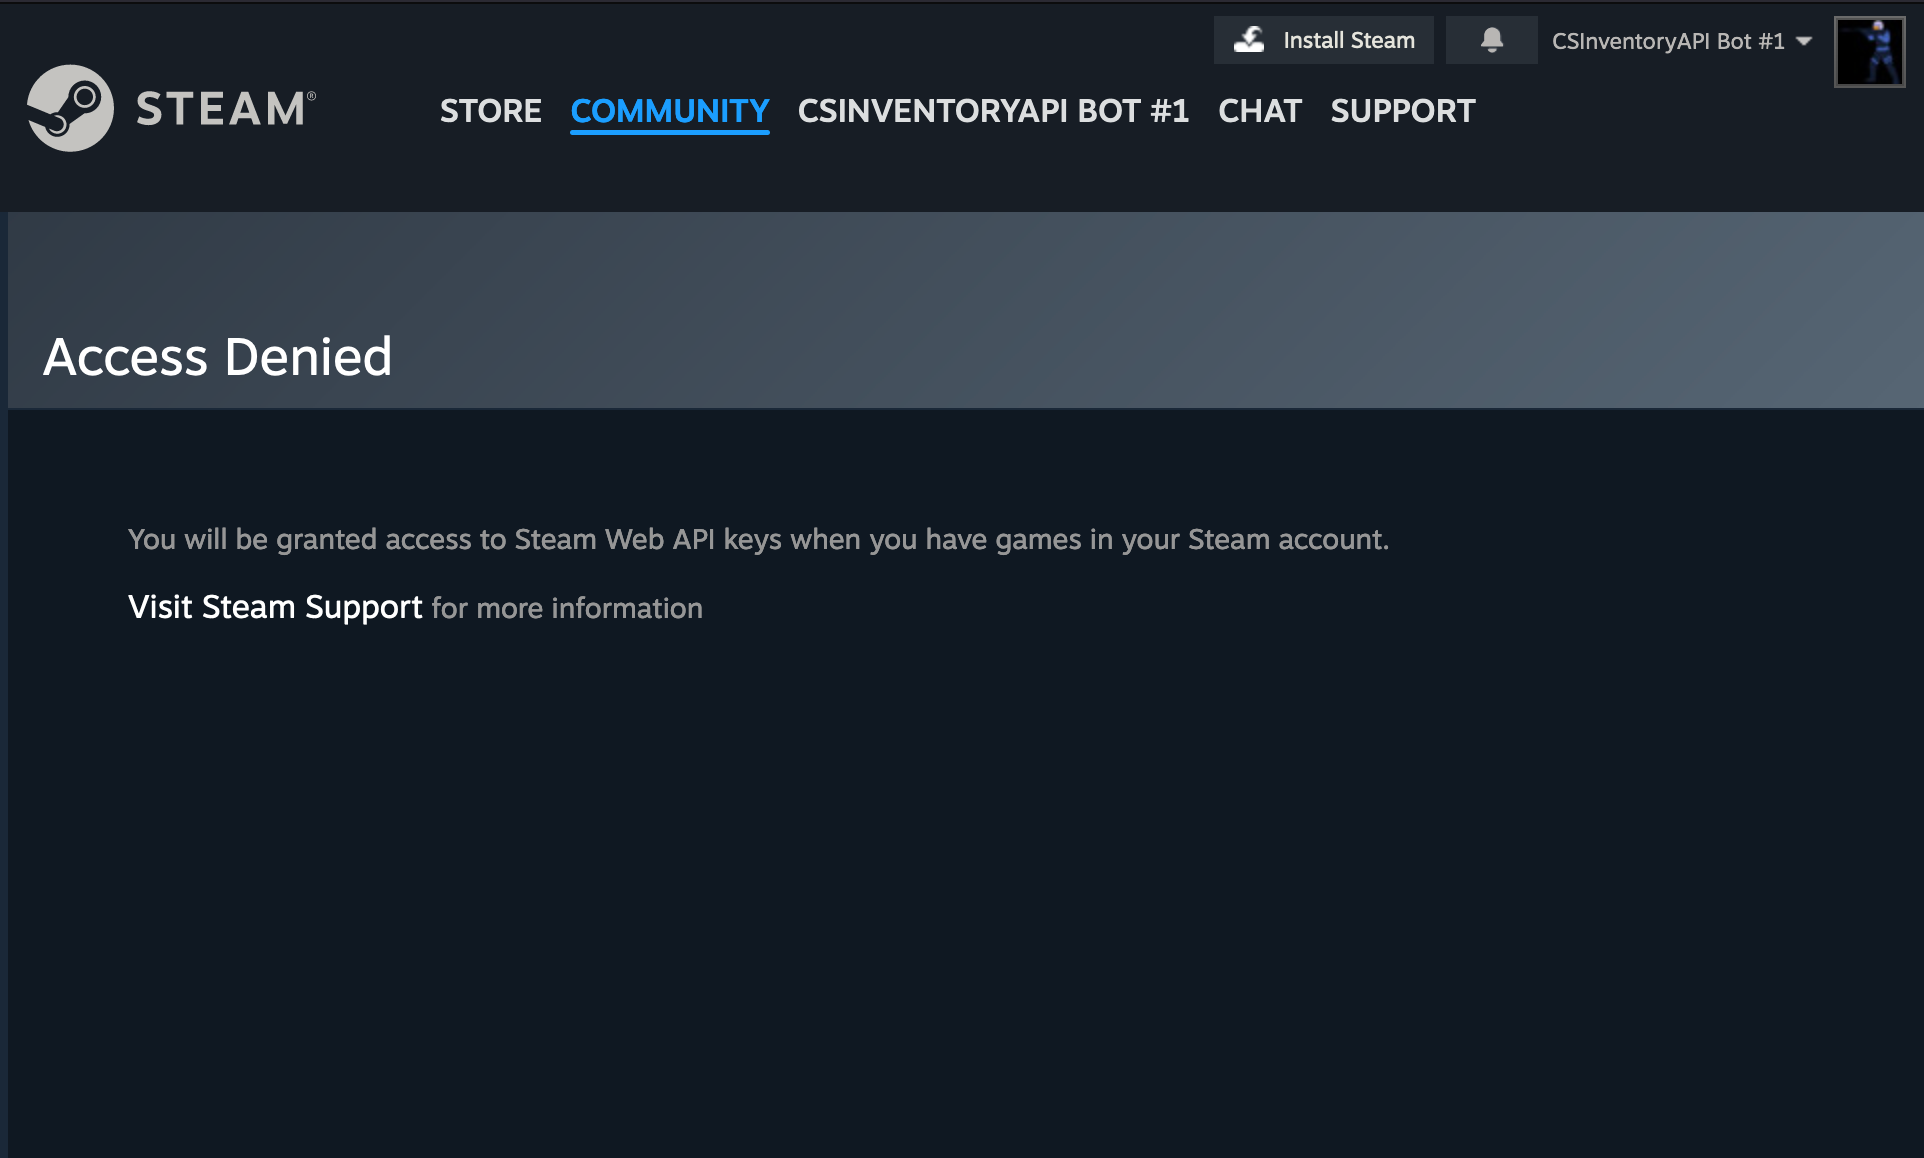
My preferred way to solve this is by adding $5 to the Steam wallet, which can later be spent on buying skins on the Steam market, thereby giving an effective "cost" of around a dollar. Head over to https://store.steampowered.com/steamaccount/addfunds to add funds to the account, and select the minimum fund level, in my case it is €5.
Step 2 - Enter a domain name
Seeing as the API key is a "Web" API key, Steam wants a domain name for the application that will utilize the API key.
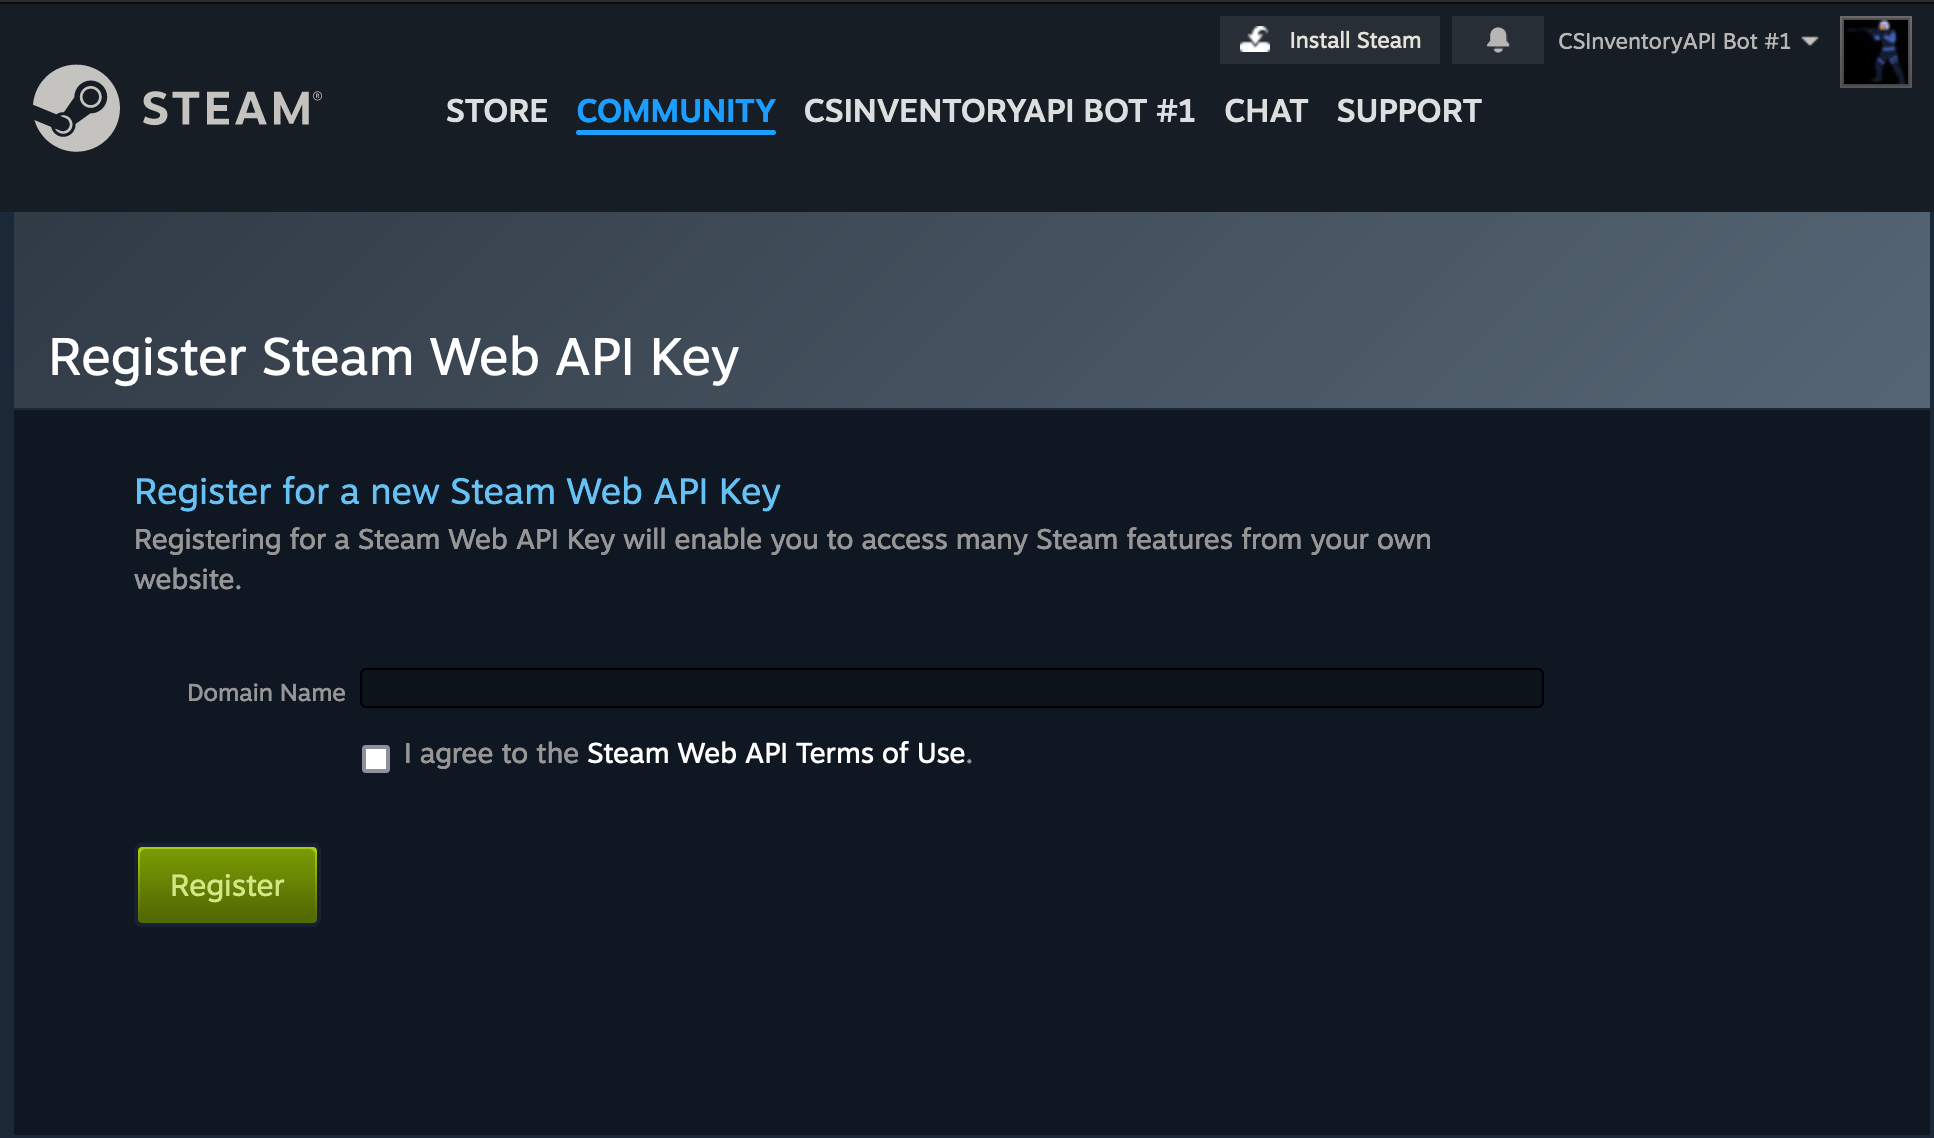
From my experience, this is not enforced, meaning any domain can be inserted. However, if you are giving the API key to someone else's application, e.g., a trading website, or using it for your own development project, it is recommended to use the domain "localhost".
Step 3 - Mobile authenticator confirmation
After entering a domain name, you will be met with the following prompt:
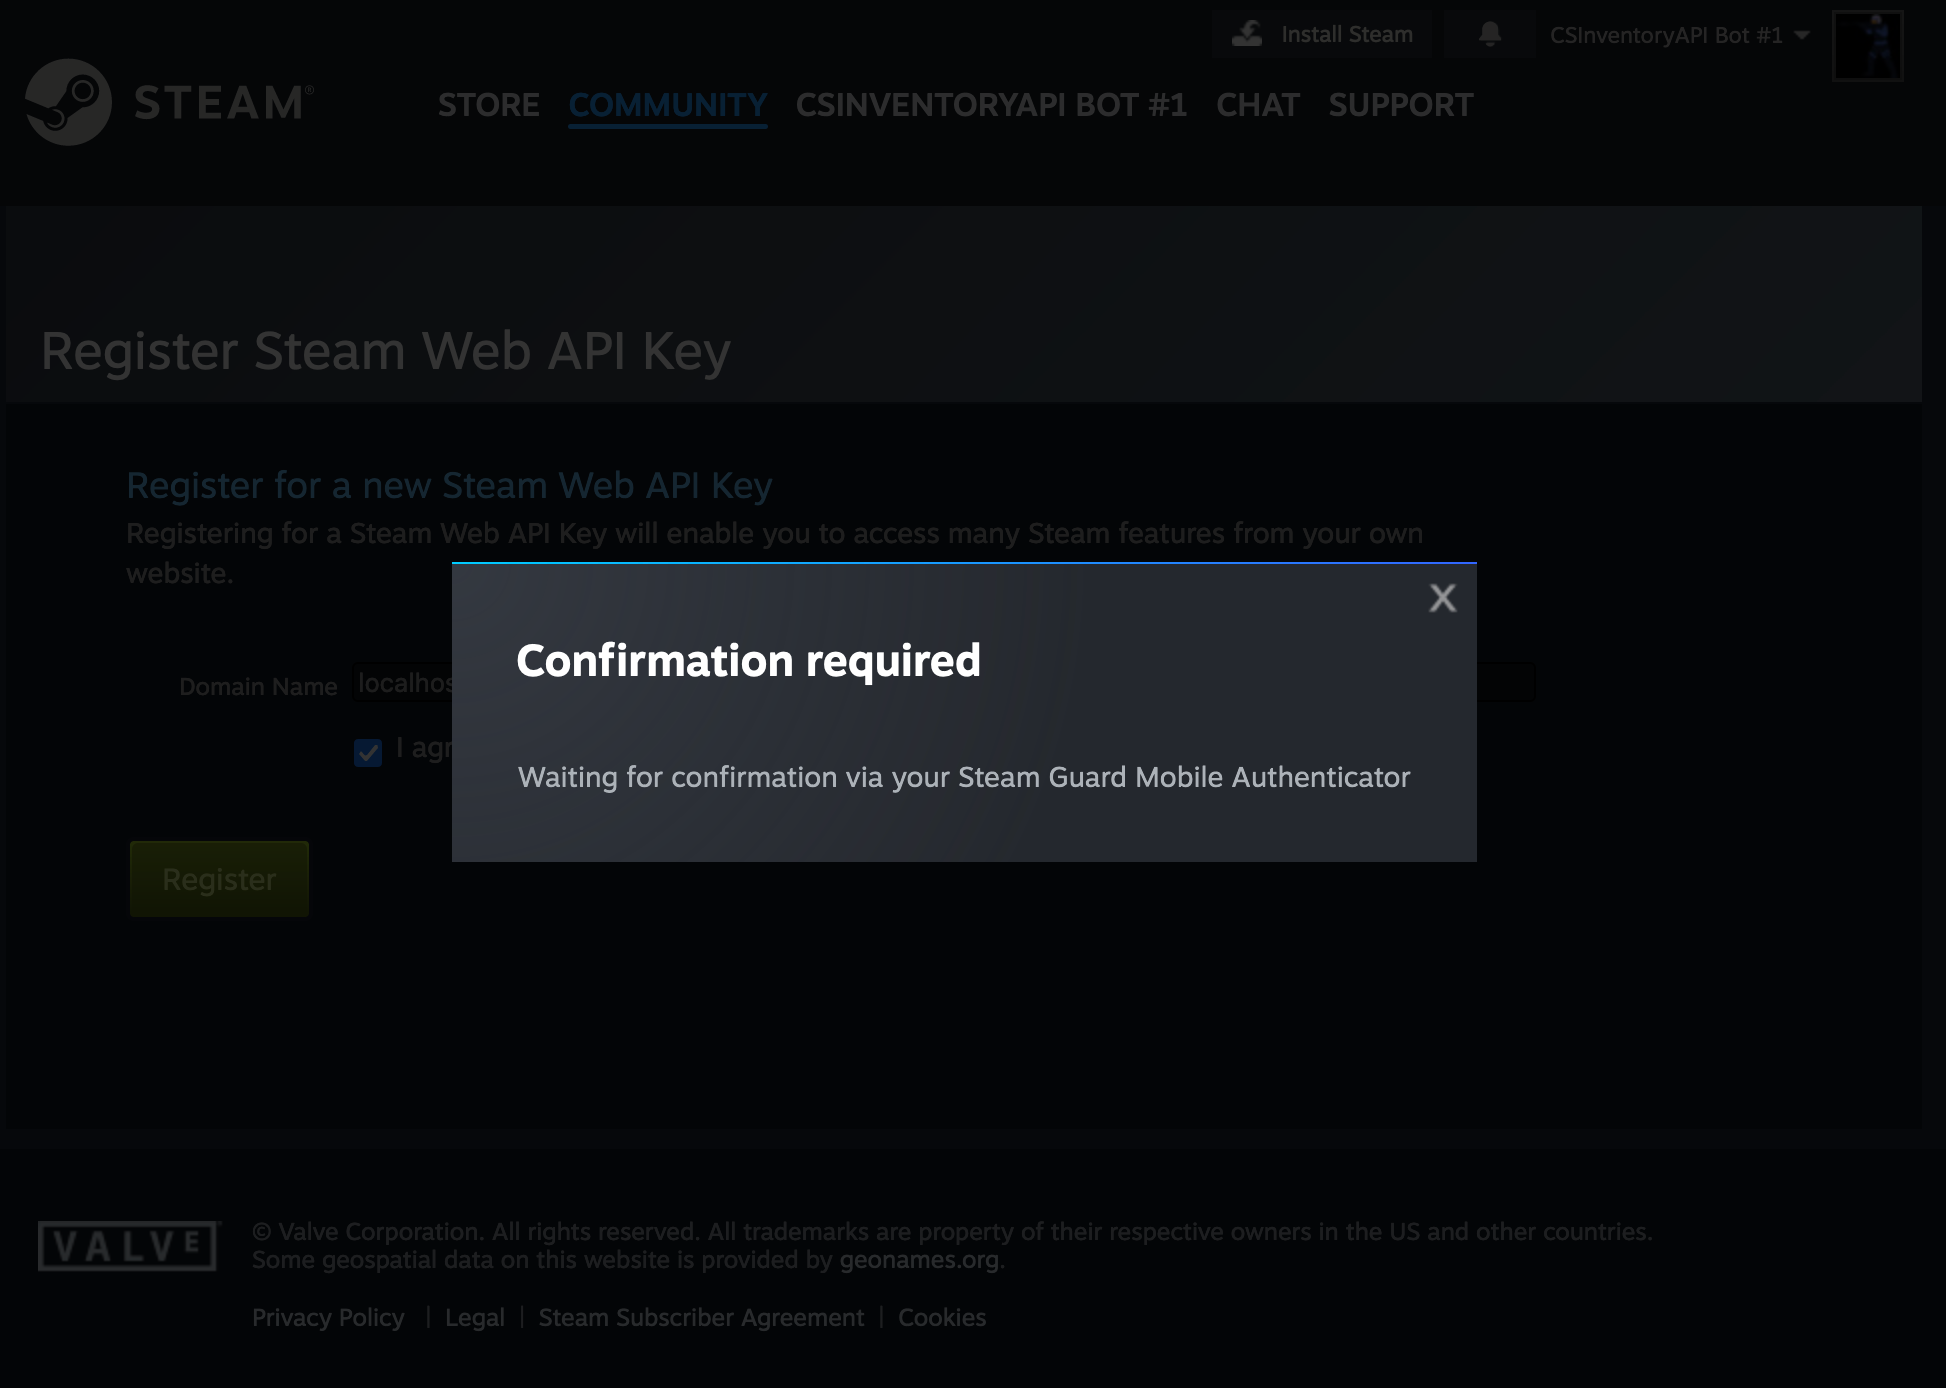
This is a relatively new security addition by Steam, which probably was implemented as a safeguard against the increasing number of "API scams" that were conducted. Just confirm the action in your app like you would any other Steam trade.
Step 4 - Copy API key
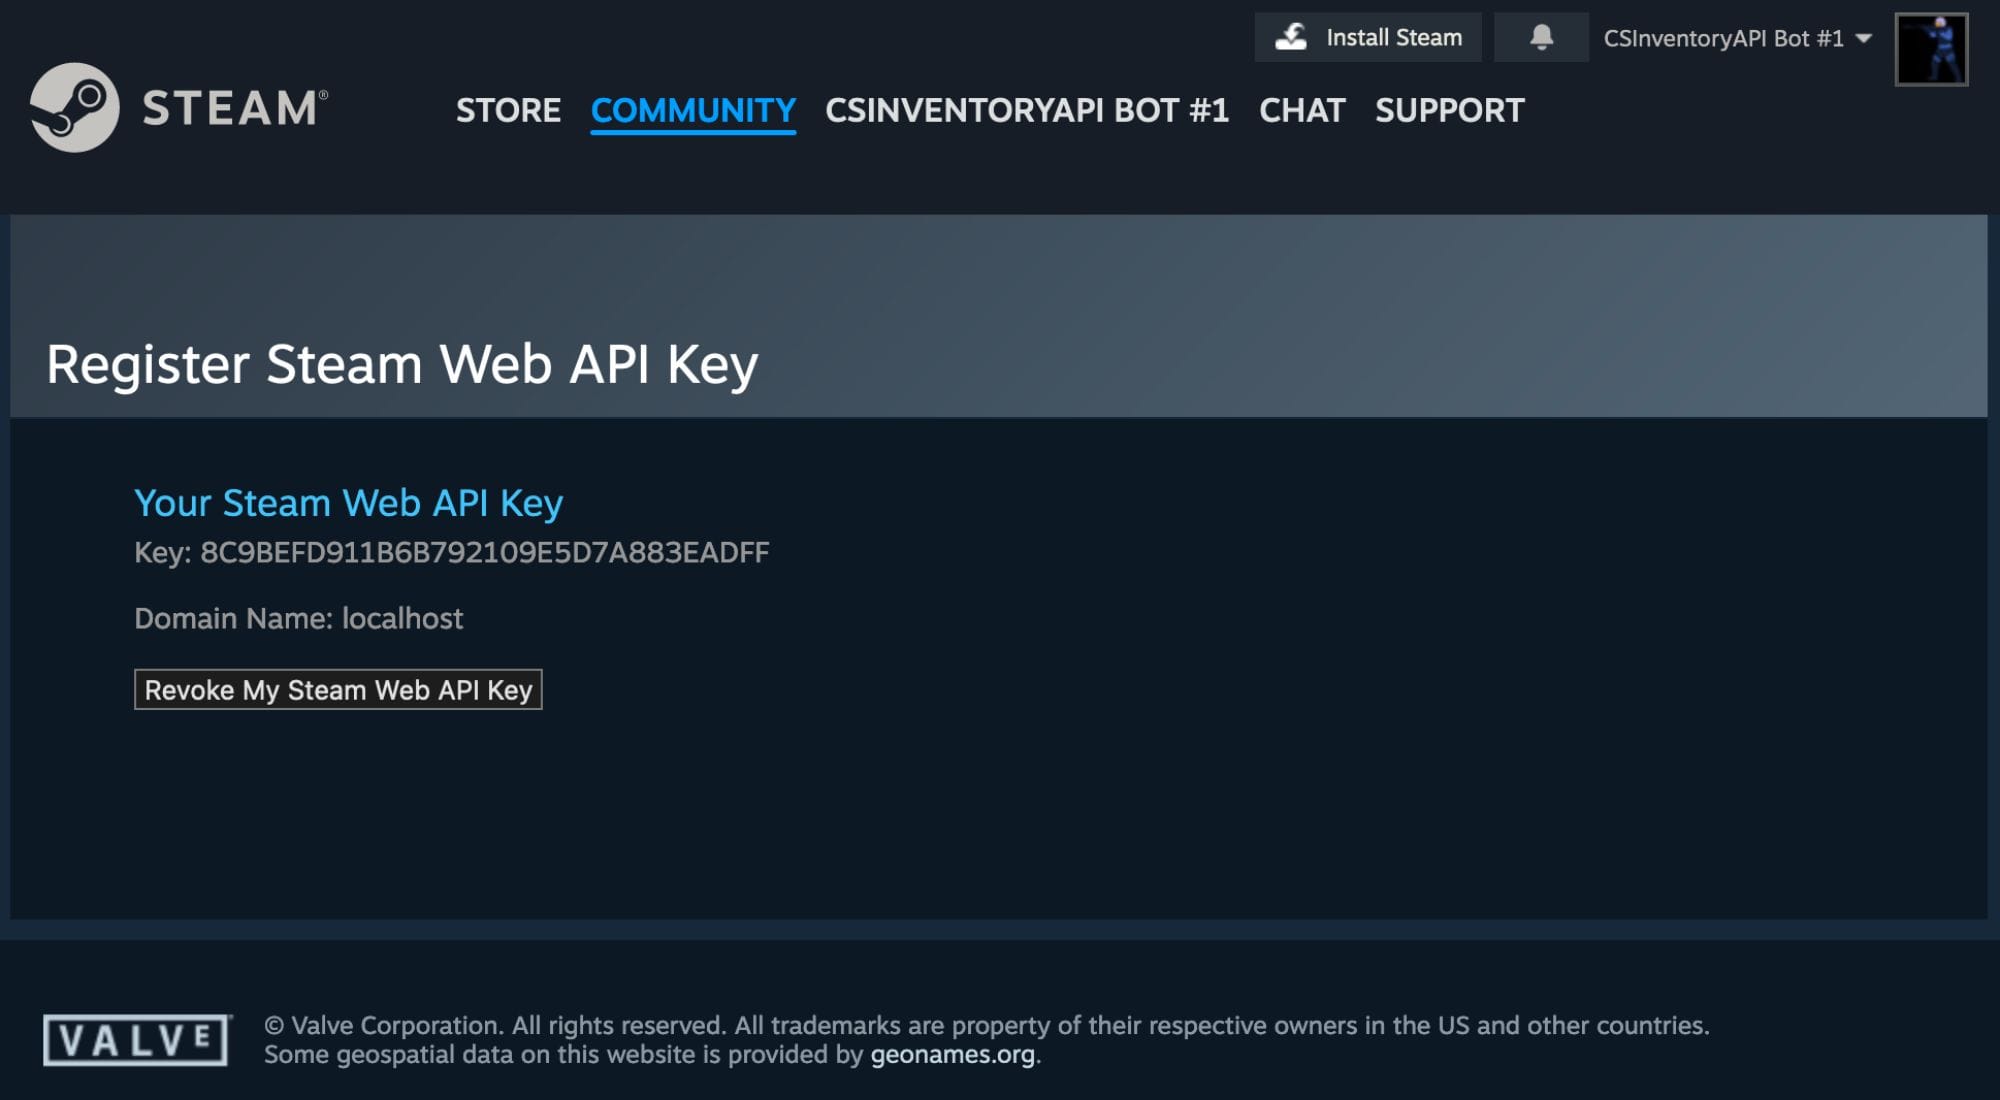
After confirmation, your Steam Web API key has been generated!
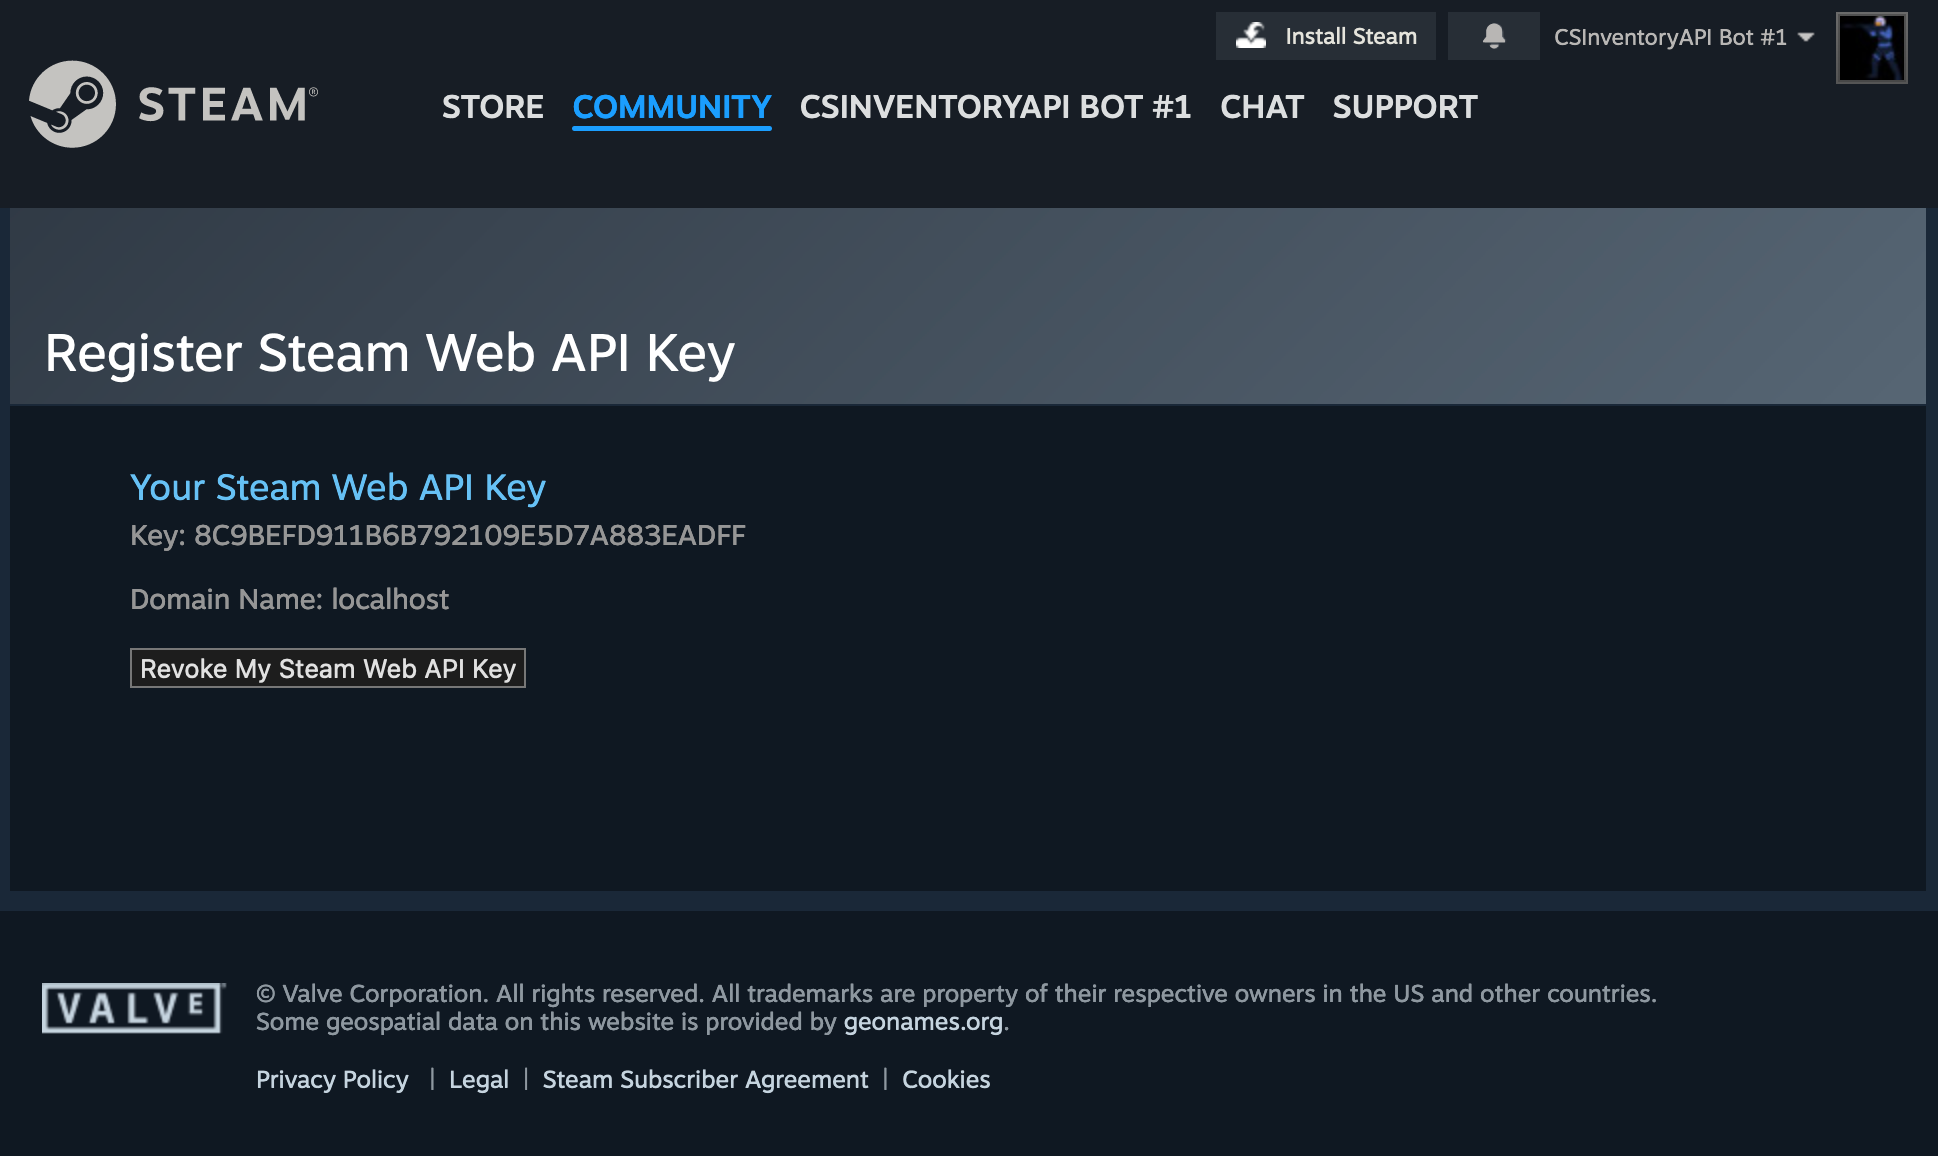
Now, you should NEVER share your Steam API key with the public as I have done in this image. This will give attackers information about trades you are conducting, items you received, and other information. Steam is limiting the API key's use cases to prevent scams, but this is still not something you want to share with the world. Always think twice (and ask why) if someone asks you to provide them with your API key.
And that's it! I hope you found this guide useful. If you need any help, don't hesitate to contact me using any of the methods available on our contact page. If you are interested in hiring us to build a web application utilizing the Steam API, e.g., trading websites, gambling websites, keys-to-crypto trading bots, and other applications, head over to our services page to learn more.

